What is it?
The term “glazing” when applied to paint refers to the play of colors and luminosity built up through applying thin, transparent layers of paint over an opaque layer of a different color. This is done with the use of a suitable type of paint (not all paint colors can be easily manipulated to glaze with, but anything with “lake” in the paint name is a good bet!) and the addition of a glazing medium to thin the paint and help with transparency. It’s a simple concept, the idea of a transparent overlay of color over an opaque layer, but it takes a lot of practice and care to ensure that the right effect comes across in actual practice of the technique. If an artist can get it right, however, it adds a gorgeous depth and sense of the movement of light within the colors of a painting. We often see this effect of transparent color overlay in real life by observing light through a colored glass, like a stained glass window or the “rose colored glasses” of the old familiar idiom– it has a lovely resulting depth and brilliance!

Examples from art history:
Glazing used to be used sometimes out of necessity in addition to being used for its visually appealing effect. For instance, back when many artists did not have access to certain brilliant colors of paint pigment– often strong greens, purples, and oranges– they achieved the color by glazing one color over another so as to optically, rather than physically, blend them. Many artists throughout history (as well as many currently practicing artists) also apply these thin glazes of color over a base that is entirely painted in grays (called “grisaille”) or browns (called “bistre”) so as to add a depth unachievable from applying opaque layers of paint alone.
Johannes Vermeer’s exquisite paintings contain many classic examples of glazing. See here below, on the left the reconstruction of Vermeer’s “Girl With a Red Hat” shows some of the initial layers that would have been painted, upon which Vermeer would then apply transparent glazes to deepen and darken to his liking. You can observe the brilliance in hues and the effect of light pouring through that this creates on the finished work, also shown just to the right. Also shown here is a detail from another painting, “The Milkmaid,” in which Vermeer’s technique of glazing a transparent yellow layer over the blue layer underneath creates a unique green effect in the middle area of the fabric of the milkmaid’s sleeves:

Examples from Principle Gallery:
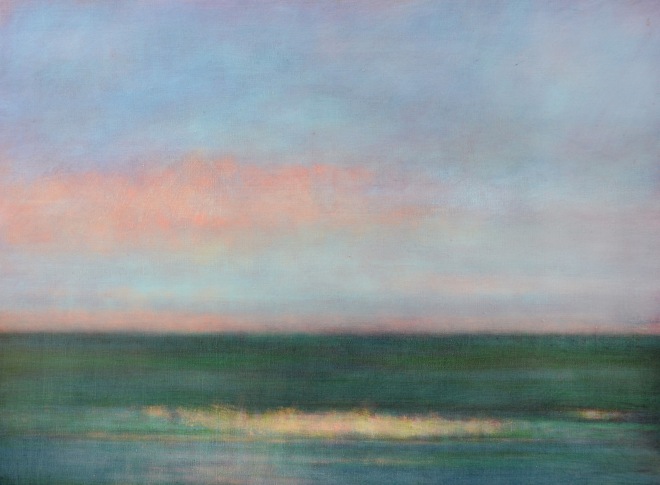
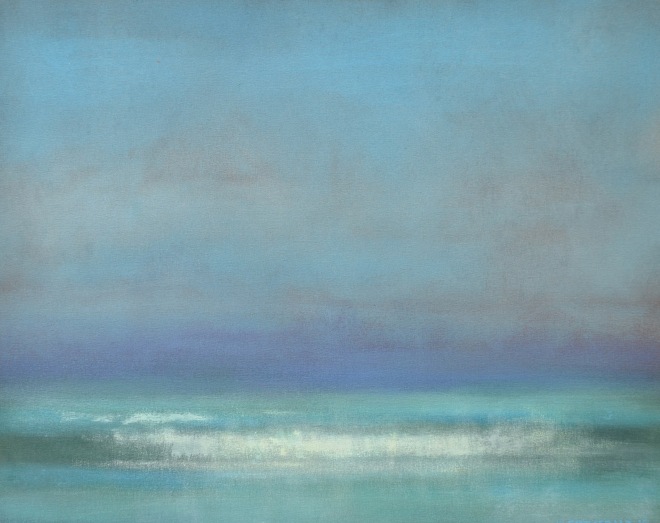
Two years ago, we discussed the 2015 Kevin Fitzgerald Solo Exhibition in a Technique Tuesday post when we addressed another type of layering effect in paint, known as “scumbling” or “dry brush.” Basically, this indicates that the top layer of paint is an opaque layer, and not a transparent, thinned layer as with glazing, which creates a different affect, more hazy and blurred and well-suited to Kevin’s frequent depictions of clouds, treelines, and ocean waves. To read more about it, check out the older post, here!
But the glazing technique is also highly prevalent in Kevin’s work, and is one of many ways that Kevin achieves the amazing effects of light, depth, and atmosphere in his peaceful, hazy landscapes. Take a look at each of the images below and try to pinpoint areas where Kevin applied transparent layers to add depth, color shifts, and luminosity (as well as those opaque, “scumbled” areas!)! And to take a look at the whole exhibition in person, stop by the gallery or visit Kevin’s page on our website here!

“Ocean Joy”

“Inlet Daybreak”

“October Light”

“Ocean Dawn”


