There are so many little details that go into redesigning a room, especially when it comes to hanging art. So, instead of throwing every little detail at you, here are just a few tips to consider before, during, and after hanging your art!

Colin Fraser, “Patina”, pictured within collector’s home
THE “BEFORE” TIPS
Not sure how to arrange your paintings? Well before doing anything, try these tips out:
- GRID OR SALON STYLE: If you have multiple pieces of art that you want to arrange, consider displaying them in a grid or salon style.
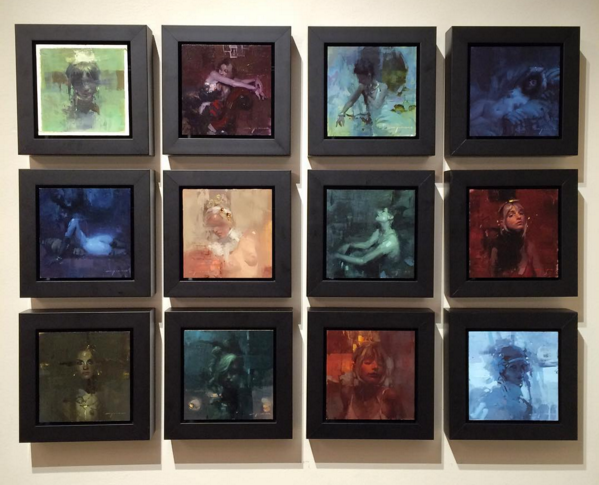
- If a clean look for the room is the style you’re trying to achieve, hang the works in equal measurements from one another while assembling them into a square or rectangle formation. This is also best if most of the paintings are the same size.

A grouping of works from the 2015 Jeremy Mann exhibition hung in a grid style
- If the pieces are different sizes, we suggest hanging them salon style. “Salon style” simply refers to the fashion in which 19th-century galleries displayed art by clustering multiple, varying sized paintings onto a wall. This method is best presented when there are multiple paintings of different sizes, especially with one larger piece.
- NOTE: It is recommended that the largest piece of the collection is placed in the center, but if there is not a noticeably larger piece, weigh the center of the wall with pieces in darker frames.
- If a clean look for the room is the style you’re trying to achieve, hang the works in equal measurements from one another while assembling them into a square or rectangle formation. This is also best if most of the paintings are the same size.
- PAPER CUT-OUT: If you are thinking of doing the salon style, but are unsure how the works will look together, follow this tip:
- Cut out pieces of brown scratch paper the same size of your artworks, then arrange the paper cut-outs by taping them onto the wall. Now you can see how the sizes fit together AND prevent any extra holes in the wall!
THE “DURING” TIPS
After deciding between grid and salon style, after taping up the paper, and after measuring how high to hang the piece, you’re finally ready to put it on the wall.
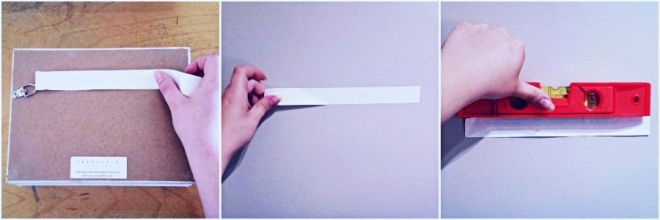
- GUIDING TAPE: If the work you are hanging has two hooks as opposed to a picture wire, cut out a piece of tape the same length as the distance between the two hooks. Take this tape and place it at the height you plan to hang the piece. This will not only help you with setting up the screws, but will also help with leveling.

- STICKY-NOTE: After you have marked a dot on the wall for the pilot hole, put a horizontally folded sticky note under it. This will catch any dust when you’re drilling.
THE “AFTER” TIPS
Now that everything is said and done, there is still one last thing to do. Take a picture! Even though this sounds like a social media ploy (which it kind of is), taking a picture of your artwork on the wall can give you another set of “eyes” to readjust the piece if needed.

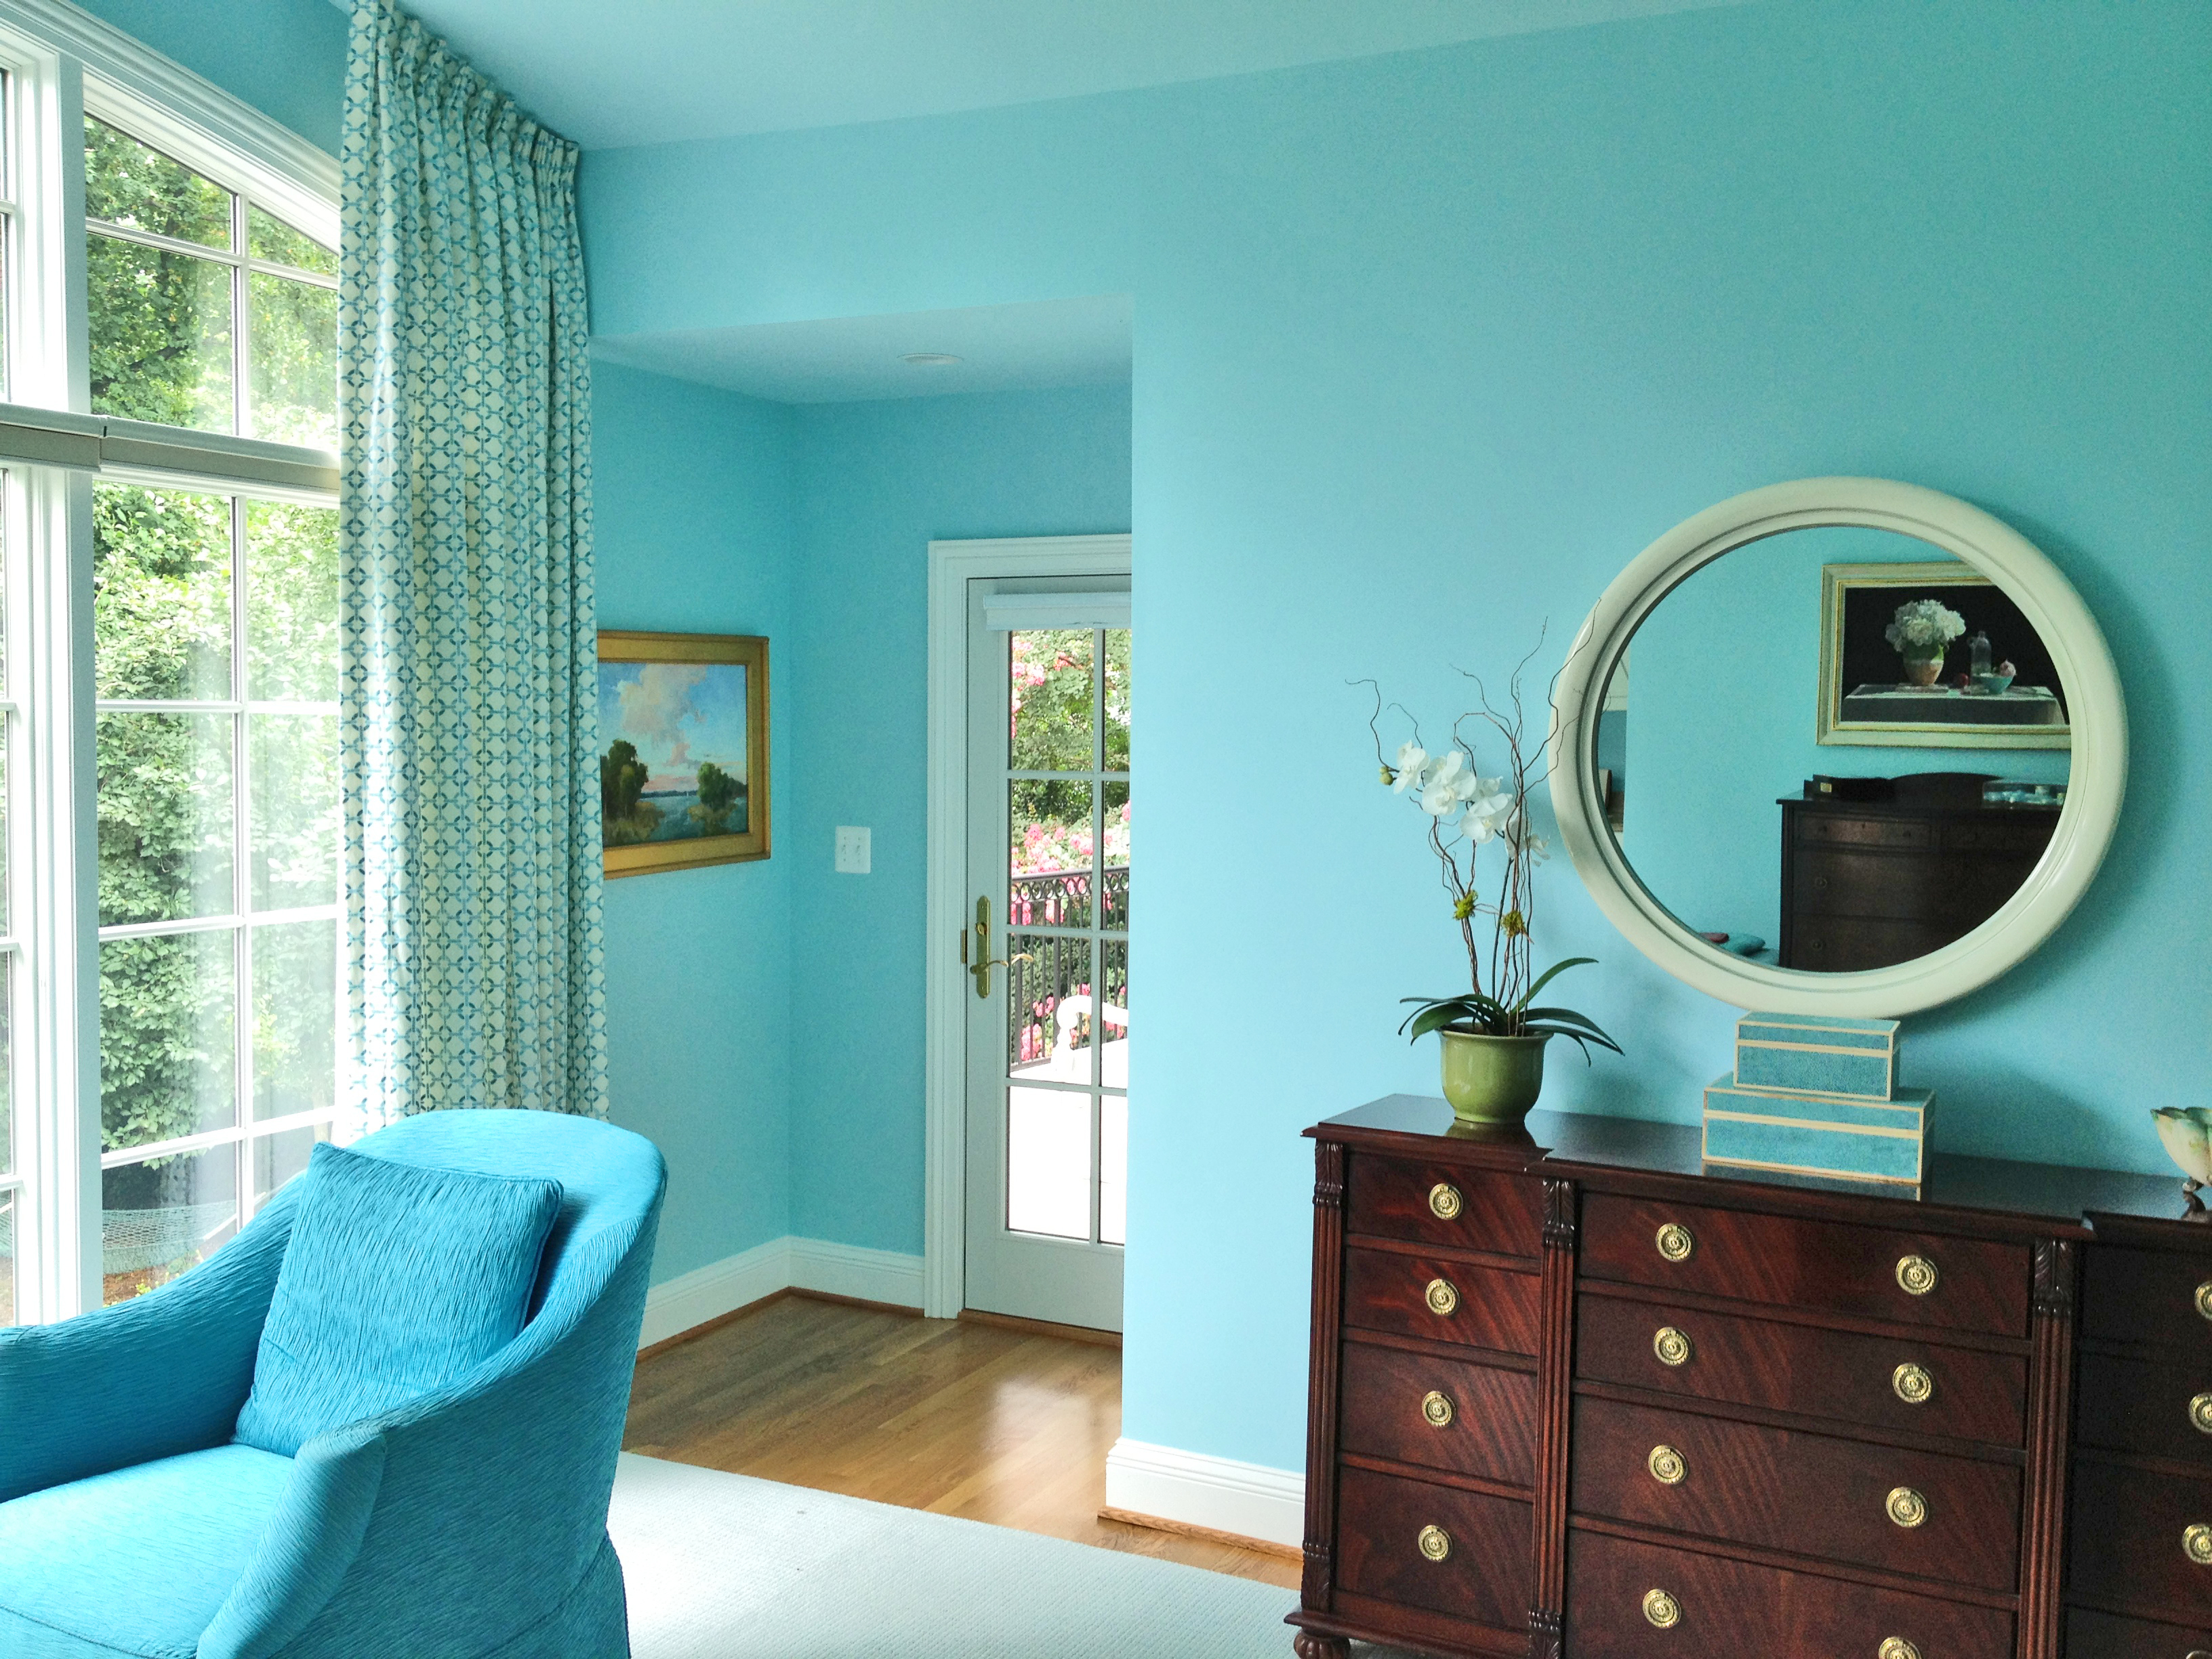
Another view of a collector’s home
After you take the picture, make sure to tag #PGHowTo and Principle Gallery on Facebook or Instagram for helping you hang your art! And just to let you know, we are also going to have a month-long Facebook and Instagram competition called #PrincipleatHome. It’s YOUR TURN to take pictures of Principle Gallery art in your home. Just tag @PrincipleGallery and #PrincipleAtHome to have a chance of winning a gorgeous Lisa Gloria painting! Check out our posts on Facebook and Instagram today to find out more about the contest!


